Overview of the Unimig Viper
What is the Unimig Viper?
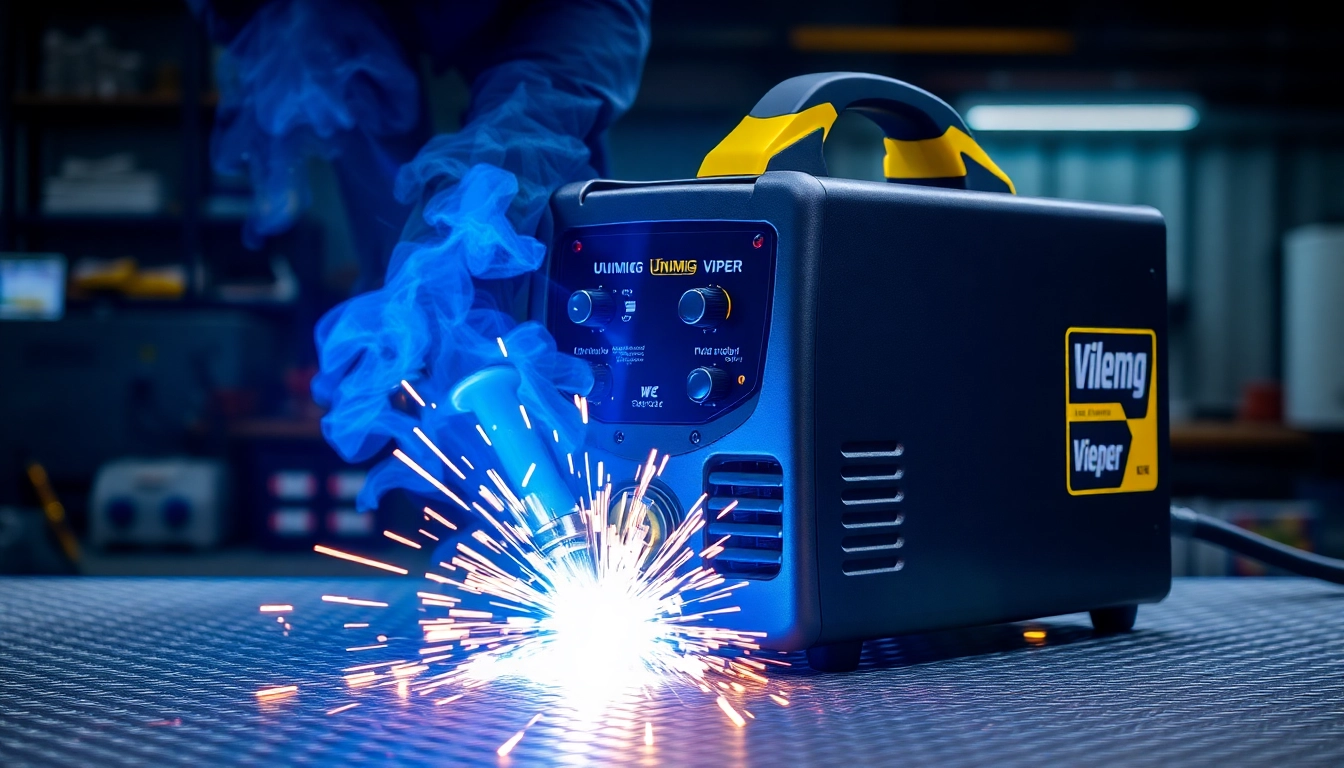
The unimig viper is a versatile welding machine renowned for its capabilities in MIG, TIG, and Stick welding. Engineered in Australia, it embodies the highest standards of innovation and quality, catering to both professionals and DIY enthusiasts. This series boasts various models, with the Unimig Viper 185 being one of the most popular options, primarily due to its exceptional performance and user-friendly design. The range reflects Unimig’s commitment to creating reliable, user-friendly solutions for a diverse array of welding projects.
Key Features of the Unimig Viper Series
- Multi-Process Capability: The Unimig Viper series allows for three distinct welding processes: MIG, TIG, and Stick, offering flexibility to tackle various materials and projects.
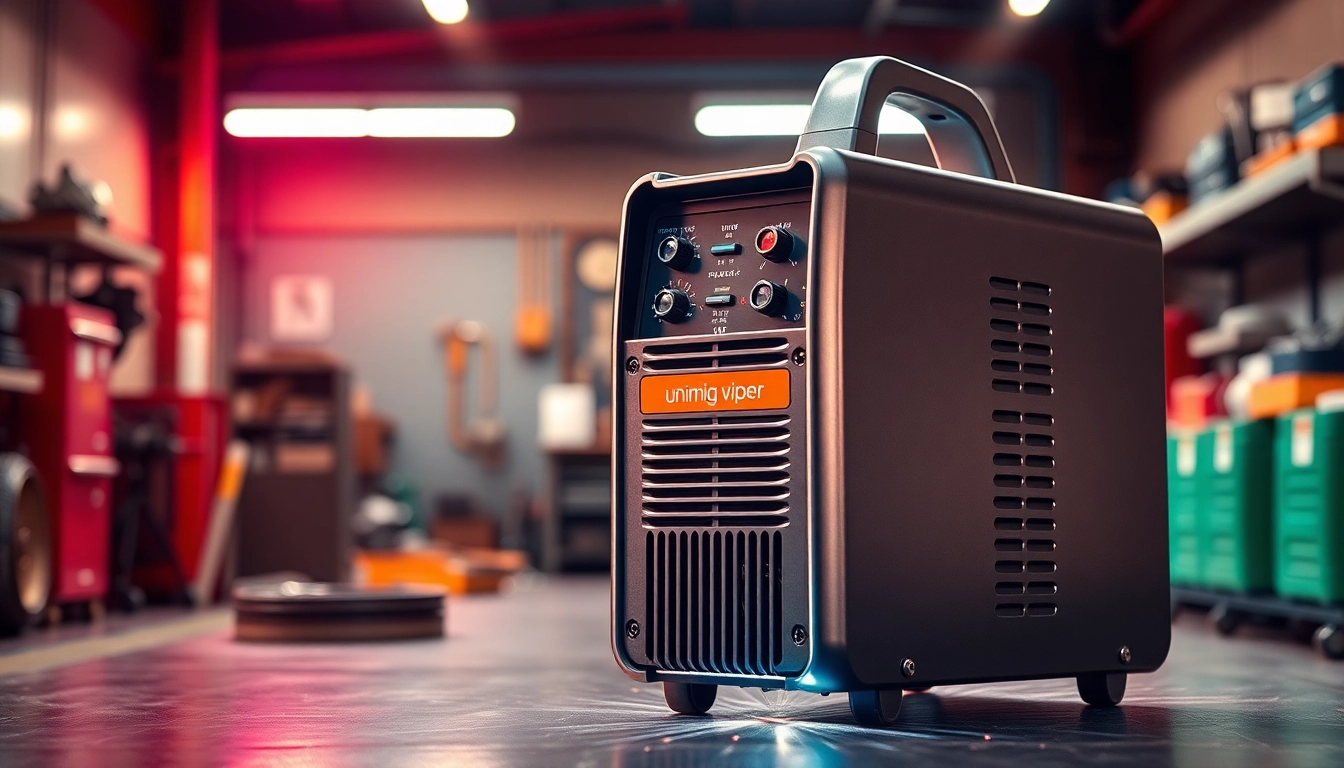
- Portability: Particularly with models like the Viper 185, the lightweight design ensures easy transportation, making it suitable for on-site and home installations.
- Powerful Performance: With output ratings that can exceed 180 amps, the Viper series caters to a range of welding thicknesses, from thin sheet metals to thicker pieces.
- User-Friendly Interface: Most models incorporate digital displays for precise control over settings and parameters, making adjustments quick and intuitive for users.
- Safety Features: Equipped with thermal overload protection and other safety measures, the Viper ensures safe operation during extended use.
Target Audience and Use Cases
The Unimig Viper caters to a wide spectrum of users, from beginners diving into the world of welding to seasoned professionals who require reliable equipment for day-to-day tasks. This versatility allows for applications in automotive repairs, fabrication shops, home improvement projects, and even artworks involving metals. The ability to switch welding processes seamlessly also makes it an excellent choice for hobbyists who wish to experiment with multiple methods without investing in multiple machines.
Comparing Unimig Viper Models
Unimig Viper 185 vs. 120: A Detailed Comparison
When evaluating the Unimig Viper 185 and Viper 120, users may notice several differences that cater to various welding needs. The Viper 185 boasts a higher output range, making it suitable for heavier projects that require robust performance. In contrast, the Viper 120 serves those who are engaging in light welding tasks or are new to welding altogether. The 120 model prioritizes ease of use, featuring preset settings that streamline the welding process, while the Viper 185 allows for broader customization and control over technical parameters.
Choosing the Right Model for Your Project
When selecting between the Unimig Viper models, consider the following:
- Project Requirements: For occasional home repairs or hobby projects, the Unimig Viper 120 might suffice. However, for professional welding tasks that demand more power and versatility, the Viper 185 is recommended.
- Material Thickness: Assess the thickness of the materials you plan to work with. The Viper 185 is equipped to manage thicker metals effectively.
- Welding Experience: Beginners may find the simplistic approach of the Viper 120 easier to navigate, while experienced welders may prefer the Viper 185 for its advanced features.
Expert Recommendations for Different Skill Levels
Industry professionals and experienced welders often recommend the Unimig Viper 185 for everyday tasks due to its robust design and reliability. For individuals new to welding, the Viper 120 serves as an excellent introduction, featuring basic settings that facilitate a smoother learning curve. As users gain confidence and experience, they may consider upgrading to the Viper 185 for enhanced capabilities.
Getting Started with Your Unimig Viper
Setup and Assembly Instructions
Setting up your Unimig Viper is straightforward. Here’s a step-by-step guide to get started:
- Unbox the Welder: Carefully unpack the welder and its components, ensuring you have all parts included.
- Connect the Ground Clamp: Attach the ground clamp to your workspace to prevent electrical interference.
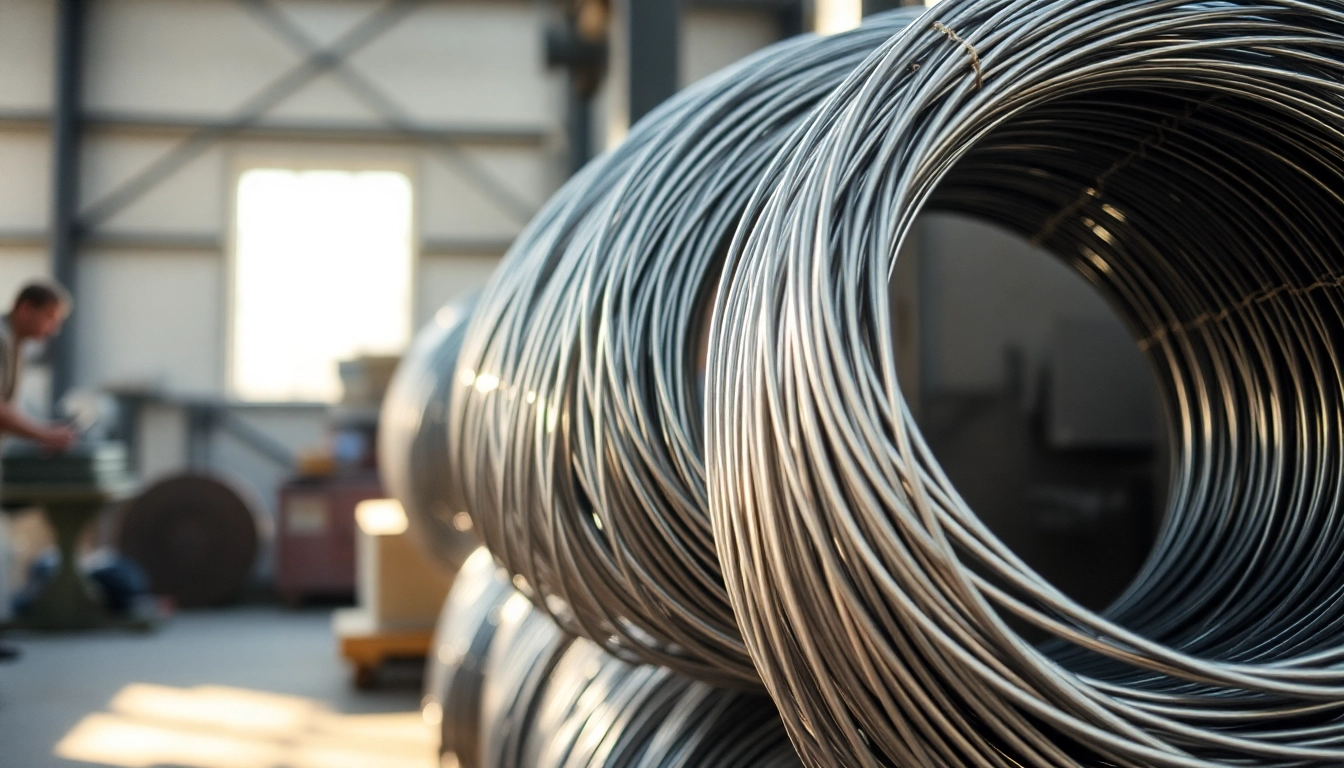
- Set Up the Feed System: Depending on your selected process, ensure the correct wire is fed through the welding machine.
(For MIG, use solid or flux-cored wire.) - Plug into Power: Connect to a standard power outlet compatible with the welder’s specifications.
- Turn On and Adjust Settings: Switch on the machine and set the required welding parameters based on the material and thickness.
Essential Safety Tips When Welding
Safety should always be a priority while welding. Here are essential tips to follow:
- Wear Protective Gear: Always wear a welding helmet, gloves, and suitable clothing to protect against sparks and UV radiation.
- Work in a Well-Ventilated Area: Ensure proper ventilation to prevent inhalation of harmful fumes.
- Inspect the Equipment: Regularly check the welder and all components for damages or wear.
- Maintain a Safe Distance: Keep bystanders at a safe distance while welding to avoid accidents.
Common Error Troubleshooting
Welders, regardless of quality, may encounter issues. Here are common problems and their solutions:
- Porous Welds: This could be caused by draft or impurities in the metal. Make sure the workspace is isolated and clean.
- Inconsistent Arc: Ensure the electrode, nozzle, and wire feed are clean and properly maintained.
- Insufficient Penetration: Adjust the settings or check the material thickness compatibility.
Performance Insights and Customer Reviews
Real-World Performance Metrics
Performance metrics for the Unimig Viper, particularly the 185 model, demonstrate excellent duty cycles and reliability during extended use. Users appreciate the consistency in arc quality, essential for professional welding tasks. The Viper series demonstrates efficient energy consumption while maintaining high performance, making it suitable for both industrial and DIY contexts.
Customer Experiences and Testimonials
Customer feedback underscores the Unimig Viper’s reputation as a dependable tool in the welding community. Users frequently highlight the versatility of welding processes and ease of use across projects. Positive testimonials note that even novices could achieve impressive results quickly, thanks to the well-designed interface and supportive customer support from Unimig. On platforms like YouTube, users share their experiences, demonstrating the Viper’s capabilities in real-time welding scenarios.
Frequently Asked Questions About Unimig Viper
As customers consider the Unimig Viper, they often have specific questions:
- What’s the difference between Unimig Razor and Viper? The Razor series allows for higher TIG welding amperage, whereas the Viper series focuses more on versatility across various welding types from MIG, TIG, and Stick.
- Can the Unimig Viper 185 weld aluminium? Yes, the Viper 185 can weld aluminum when equipped with the appropriate wire and settings, accommodating both gas-shielded and gasless processes.
- Which Viper model is best for beginners? The Viper 120 is ideal for beginners due to its simplified controls and appropriate settings, allowing new users to learn without overwhelming complexity.
Maintenance and Care for the Unimig Viper
Regular Maintenance Checklist
To ensure the longevity of your Unimig Viper, follow this maintenance checklist:
- Check electrical connections and wiring for signs of wear or damage.
- Clean the machine and components regularly to remove dust and welding residue.
- Inspect the torch and leads for abrasions or kinks that could hinder performance.
- Replace consumables like nozzles and tips when necessary to maintain optimal results.
Tips for Prolonging Your Welder’s Life
To extend the lifespan of your Unimig Viper, incorporate the following best practices:
- Store the welder in a dry, dust-free environment when not in use.
- Limit continuous heavy usage; allow the welder to cool down after extended periods of operation.
- Regularly check and recalibrate settings to match specific material requirements.
When to Seek Professional Repairs
If you notice persistent issues that cannot be resolved through basic troubleshooting, it may be time to seek professional repairs. Symptoms such as recurring electrical faults, inconsistent performance after maintenance, or visually obvious damage to critical components warrant professional intervention to prevent further damage to the machine and ensure safety during operation.